Thrombolites at Lake Clifton


"A thrombo what?????"
On February 11 my photographic enthusiast/ good friend Alain Quah (Rah Studios) and I embarked on a 1/2 day trip down towards Mandurah (80km south of Perth) to take our cameras for some adventures down south. Mandurah proved to be rather unenlightening during that particular day. The scenery wasn't really appealing and there wasn't much happening in terms of photographic life in the small city. When Alain suggested to go visit the thrombolites in Lake Clifton, I was a bit struck, I've never heard of such a word and didn't have the slightest clue of what it was. At first I thought it was some sort of nature light or something. He asked me to search it up on google and locate where it was on the GPS so we could get there. I was like what the heck is a thromba light??? :S I recall typing in the search bar. "Throma lights," and that obviously came up with nothing.
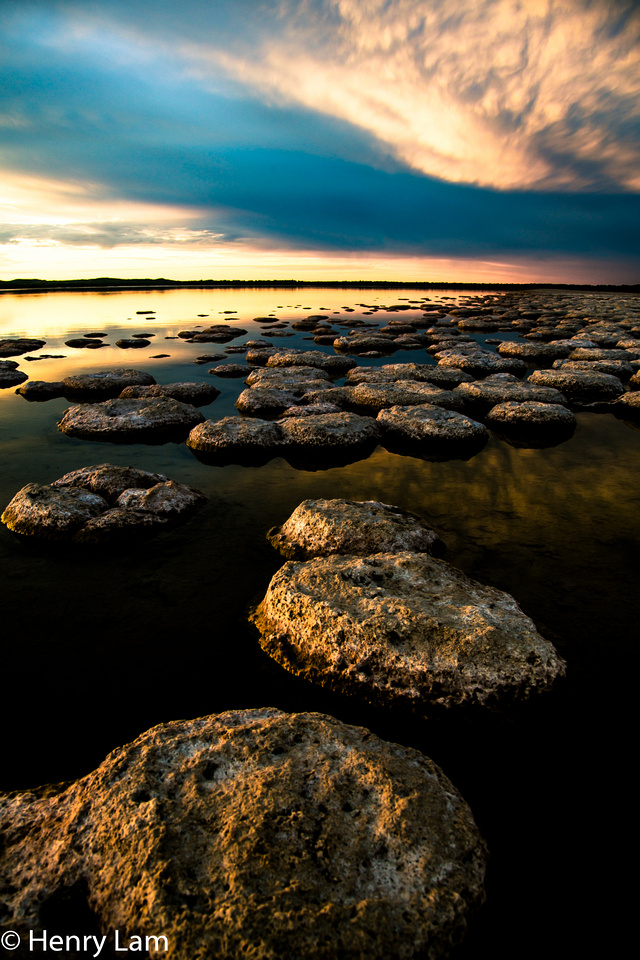
It was until i auto-corrected the search term and then realised learnt that 'thrombolites' are actually rock-like formations formed by micro organisms. When these micro-organisms are combined with light, process known as photosynthesize, they somehow turn into a limestone, dome like thing. Read more about thrombolites: on this site http://www.lifeonperth.com/thrombolites.htm
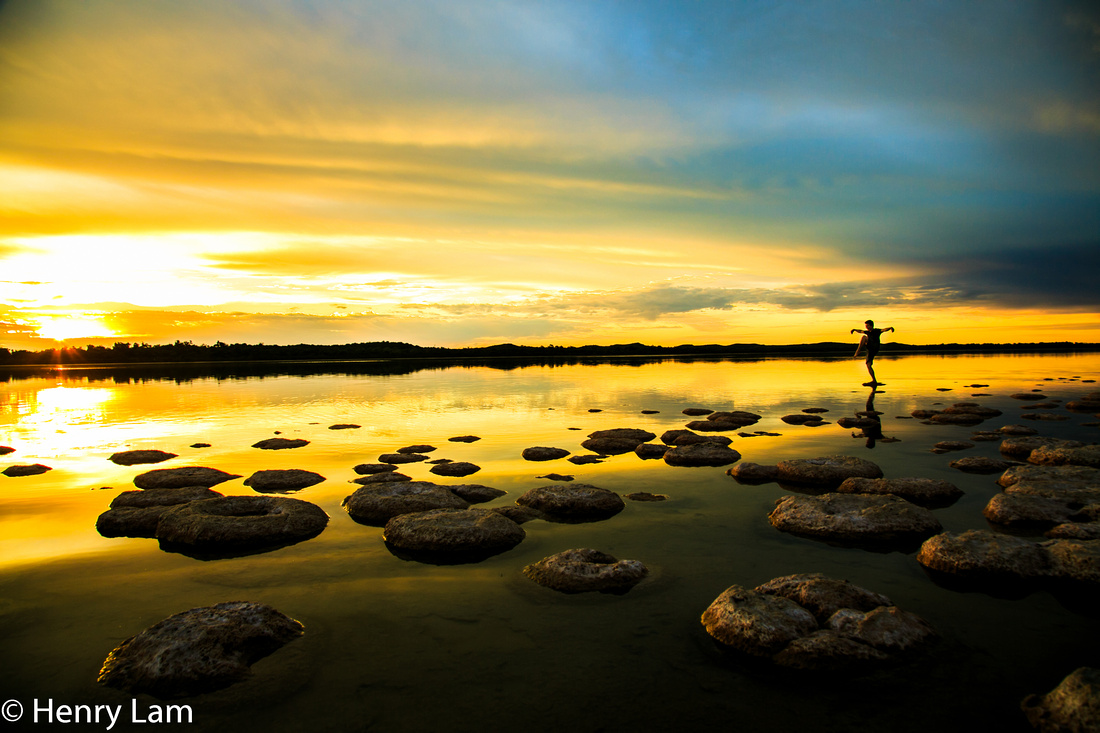
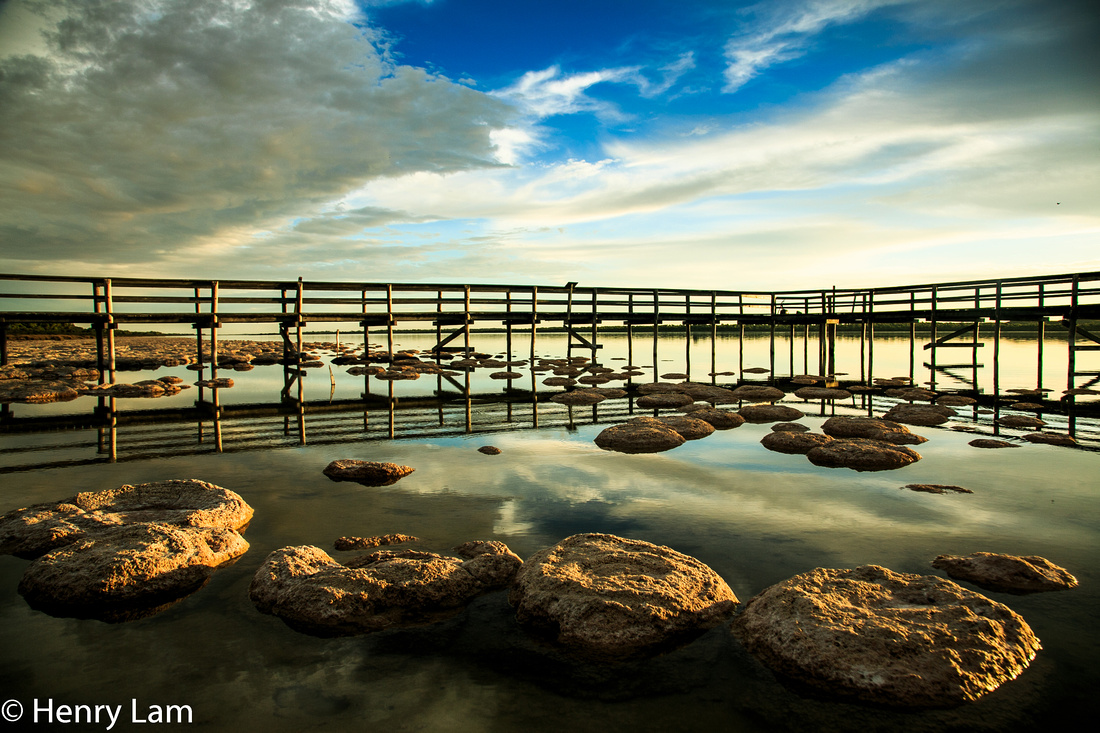
Once when we arrived at Lake Clifton we were greeted with a vast scenic view of the lake an a constructed walk-way for tourists to come visit. The area is actually quite peaceful and tranquil. When we arrived the thrombolites were at their prime. Alain mentioned that if the tide was high, the thrombolites may be submerged under the lake, thus not making much photo fun. That day it we had perfect luck. We had good water levels and a great sky for potentially good sunset.
We both stayed at the lake till around 7:15pm (just after sunset) so that would have been about a good 2 solid hours of shooting rock like features. I took about 135 snaps and only came out with 3 images that I decided to final process. Alain came up with a great idea of next time we'll bring a deck of cards, to amuses us whilst we wait for the summer sun to set.
Anyway to some photographic speak. I used my Canon EOS 5D mark 3 for these images, and only had the Canon 24-105 F4 IS lens attached. I didn't have any filters on the camera and shot all the images in Raw. When I come across a vast scenery of rock-like things on the ground. I automatically know that the camera point of view is going to be low. That's right get the camera down nice and low, and that requires me twisting my back, getting a sore bum and maybe get my feet wet. I didn't use my tripod for these images because that would have restricted the height. I think its really important that the camera gets the closest to the perspective of the thrombolites as possible. Even if the camera was a few inches higher than optimal, the whole picture's perspective changes. The subjects (Thrombolites in this case) would lose its impact.
I shot all the images on ISO 200 and using F8 on the lens. F8 gives me optimal image quality from the lens and good solid depth in the image. I mainly used exposure compensation on the camera to dial it up or down, depending if I wanted the image to be brighter or darker. having a brighter images would ensure that all the detail of the thrombolite would be captured in the photograph. By having a lower exposure compensation, would ensure that I have good drama in the sky and not blow out the setting sun. Conventional rules would tell you to have the camera fixed onto a tripod. I didn't chose to use my tripod in this instance for several reasons. 1:the ground wasn't very stable and most of it was wet with salt water, so stability and cleanliness was an issue 2: restricts camera movement and compositional adjustments and the most important factor 3: I'm Lazy. Alain was good, he used his tripod :)
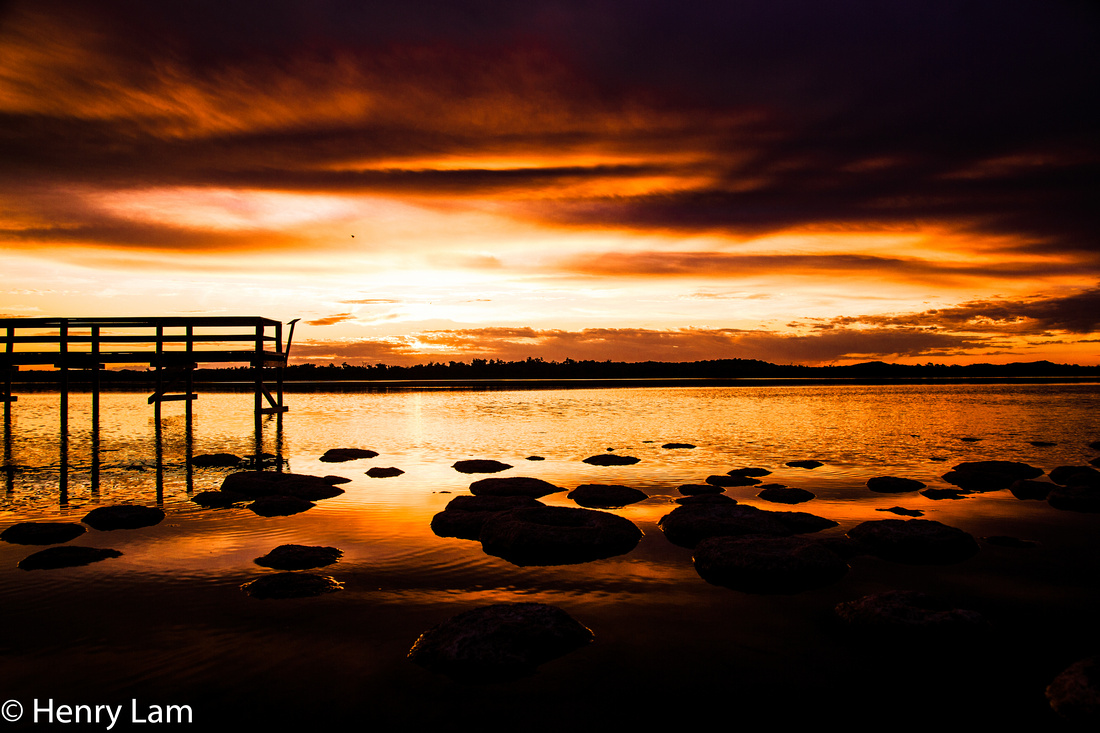
When it comes to processing the image, I went for a dramatic look. I will admit that I did boost the colours of the sunset in order to enhance the image, although these colours do look glorifying, it wasn't really that dramatic in real life. However the challenge with processing images in my opinion is to enhance your images yet still preserving a sense of realism in the image. Finding that balance is always a challenge. I like cranking out the warm colours in sunsets by moving the white-balance to a warmer setting. If you shoot in Jpeg mode, perhaps you can force your white balance to be one of the warmer presets, such as cloudy or shade. This would make the reds in the scene really stand out. However you should experiment with the cooler tones as well, just to do something slightly different.